
 0 Items £0.00

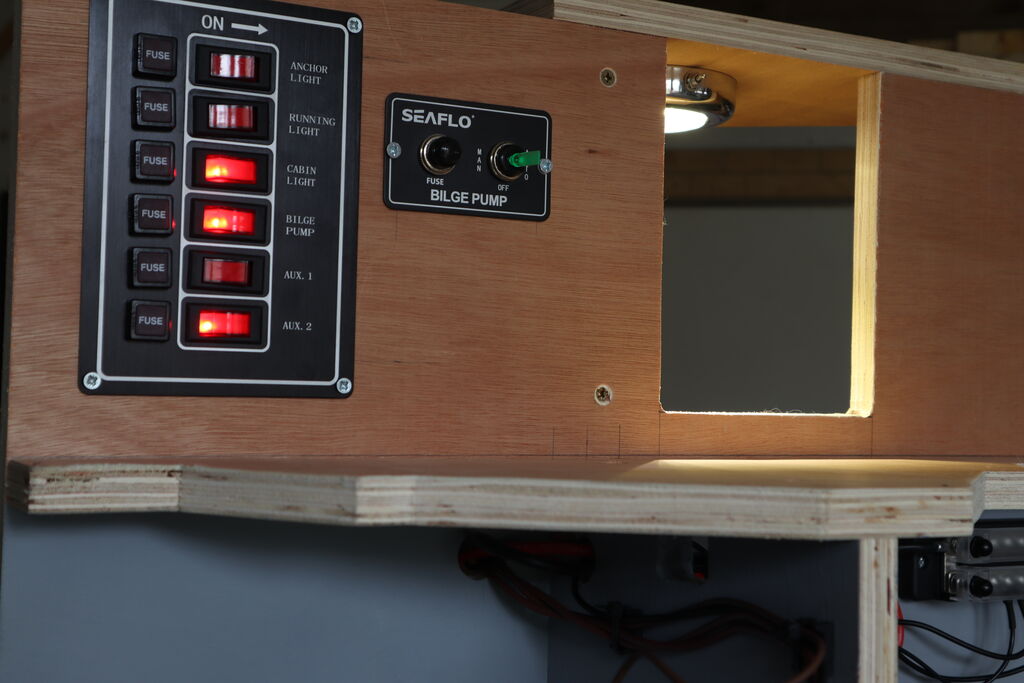
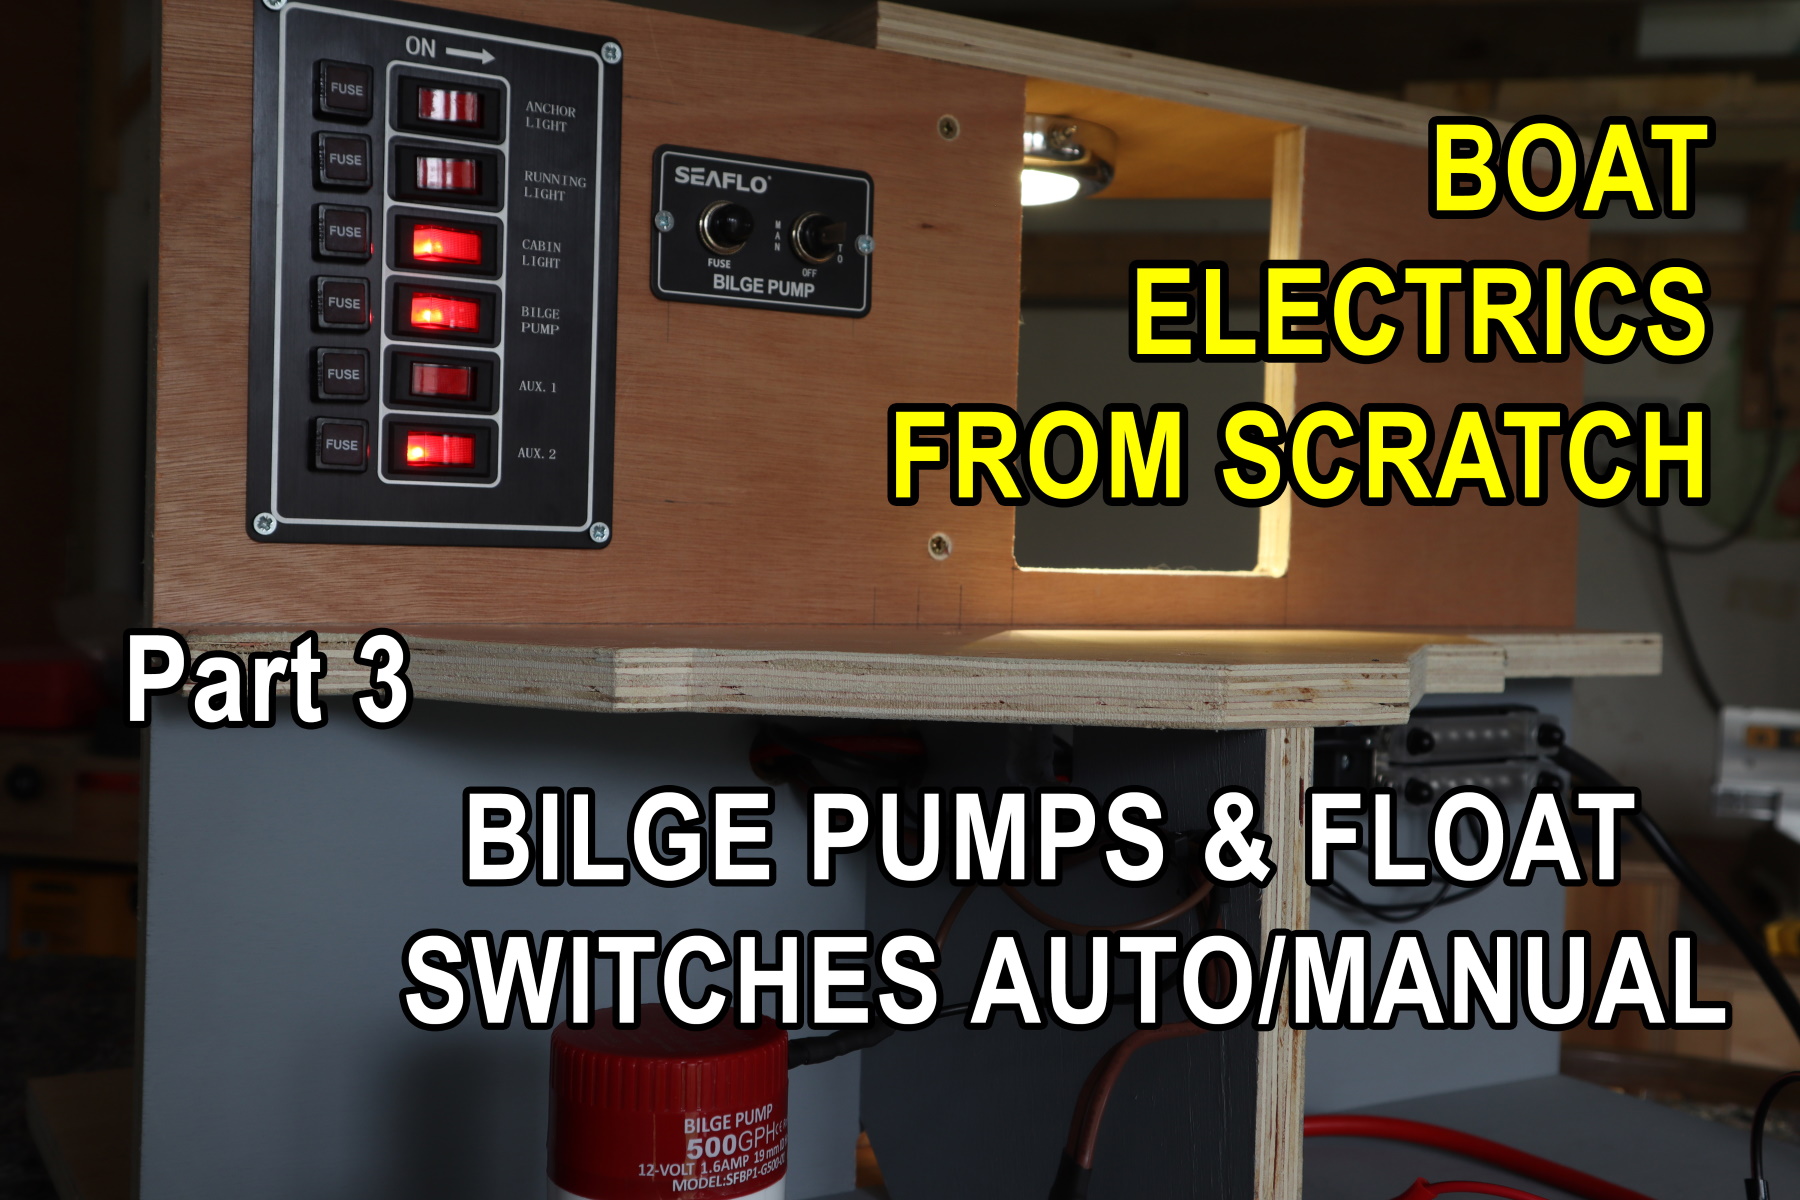
Boat electrics from scratch made easy! - Part 3. In this episode we install two electric bilge pumps into our boat electrical mock-up. Having already installed the busbar, master switch and main switch panel, we have most of the boat electrical infrastructure in place, so installing these bilge pumps does not take long.
To jump straight into the video guide, click on the image below:
We first look at three different bilge pumps, a manual (simple on/off) bilge pump, a large capacity automatic bilge pump and a built-in float switch, and a smaller automatic bilge pump that uses electronics (instead of a float switch) to decide when it needs to operate. We also look in detail at using a Seaflo dedicated bilge pump switch system, which takes care of both manual operation and automatic operation for one of the pumps we are installing.
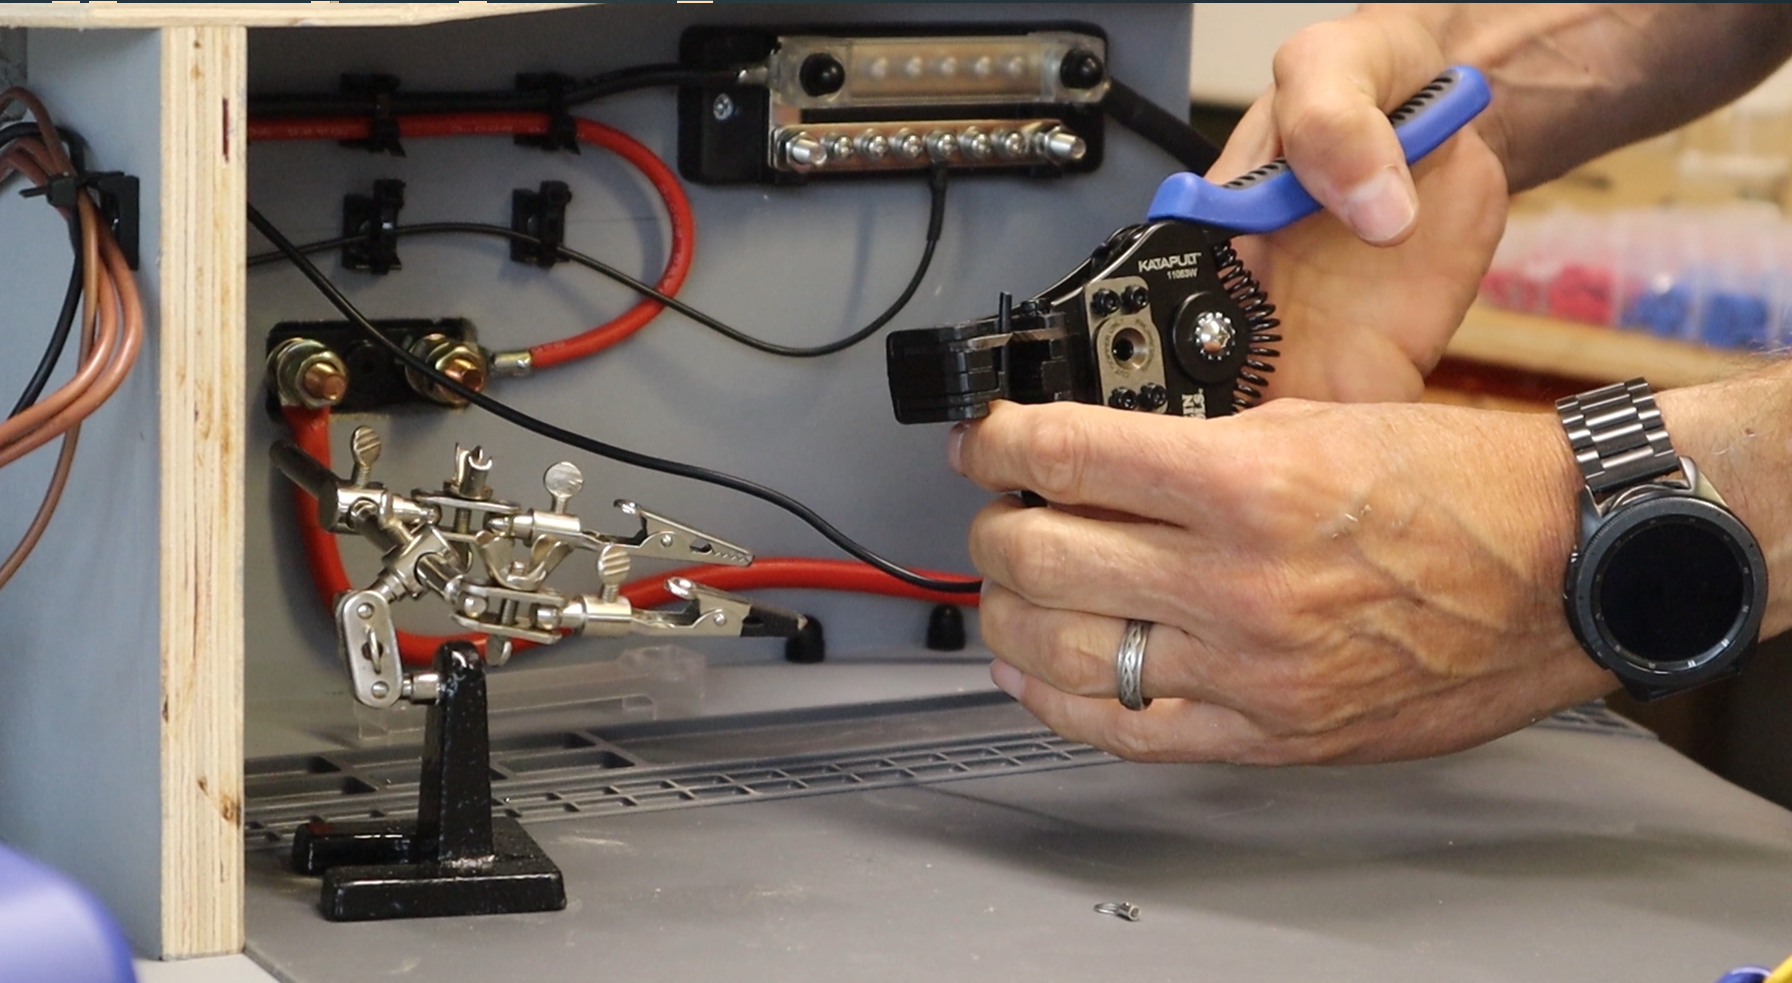
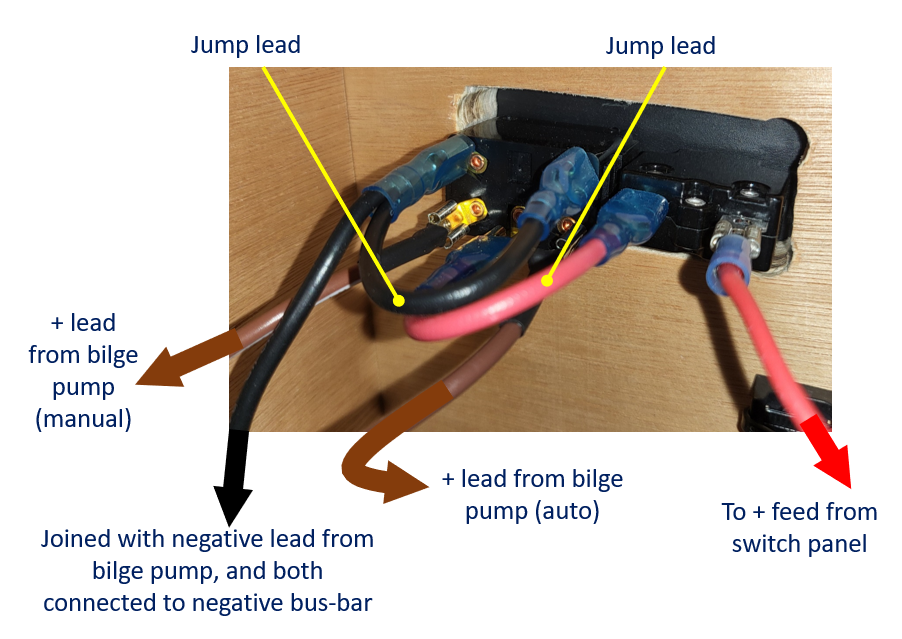
We start with the manual bilge pump, which we are pairing with an external float switch. It is important to make sure that the polarity of the bilge pump is correct, otherwise it will turn the wrong way and won't pump. We also must consider the maximum current draw for the two bilge pumps we are installing to make sure we don't overload the switch / fuse in the main switch panel - in this case deciding to use two different switches, one for each bilge pump. For the manual bilge pump, we first take its negative lead to the 'engine bay' area and connect up to the busbar (electrical negative distribution bar), using a soldered on ring terminal. For the wiring of the positive side of the system we must run the positive feed through the float switch. We decide to bring the wires through the bulkhead to the 'high and dry' main switch panel side of things, so that we do not have to worry about water-proofing the connections.
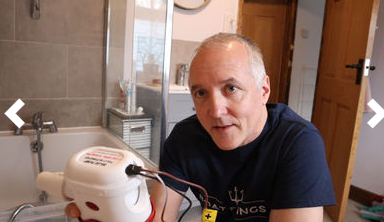
The second bilge pump that we are installing is an automatic bilge pump. Although this bilge pump looks very similar to other bilge pumps with a built-in float-switch, this one does not include a float switch, but instead uses an electronic system in place of the float switch. The way this works is that every few minutes the electronic system switches on the bilge pump for a short time, when while the bilge pump is on the electronic 'brain' monitors the amount of electrical current drawn to determine if water is present. If the bilge pump is pumping water it will continue to pump until the water has gone (it knows this again by monitoring the current draw while pumping). If no water is present the bilge pump turns itself off again until its next check after another few minutes. We have a separate video and article showing how this works in reality which can be found by clicking the image below.
For the electrical wiring of the automatic bilge pump we are using a dedicated Seaflo bilge pump switch. This small switch panel has a switching system which can be used in manual mode (switch only on while held) and an automatic mode where the switch is pushed the other way - it can be left in the automatic mode indefinitely. The Seaflo bilge pump switch panel is illuminated (red for manual operation and green when switched to automatic operation. The wiring connections of the automatic bilge pump switch can be a little difficult to understand at first so below is a close-up showing the connections.
We hope you find this kind of information useful, if you do you might like to subscribe to our newsletter by clicking on the subscribe button below: