How to replace a boat cleat
One satisfying way to smarten up your boat it to replace old corroded aluminium cleats or chrome plated brass cleats with good quality marine stainless cleat.
Access To Remove Existing Corroded Or Tired Deck Cleats
Whether you are replacing cleats on your sailing boat or motor boat the first thing to assess or tackle is removing the old cleats. Hopefully, access to the nuts on the underside is clear but may need the removal of cabin ceiling liners. We would recommend starting here first as many a renovation project flounders at the point of realisation that access to the fixings needs a lot of upheaval of the interior of your beloved boat.
Once you have established the necessary access either remove the old cleats or take measurements of the old cleat fixing holes – this is often easier once the cleats have been removed. The most important aspect here is the number of holes and the pitch between the holes. At Boat Fittings we have replacement cleats with 4 holes and 2 holes in a variety of sizes and styles.
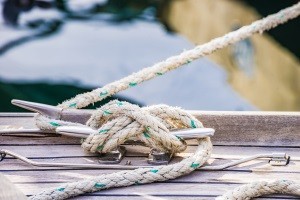
Selecting The Right Stainless Steel Cleats For Your Boat
All of our cleats are manufactured from marine-grade stainless steel, otherwise known as 316 or A4 or marine stainless, which will not suffer from staining or degradation in salt-water conditions. Other than the style, the size and dimensions of the cleats need to be considered, especially in the case of mooring cleats. The dimensioned pictures with each of our product descriptions give all of the key information required, fixing hole diameters, the pitch between holes and the dimension to indicate the gap under to compare with the rope size that you are going to use. In general, we would advise choosing a cleat with at least the same diameter of fixings as the one you are removing.
Choosing Fixings For Your Cleats
In most cases, cleats are attached by bolts or set-screws. We have a variety of set screws, hopefully, you will find what you need in our fixings section. We would recommend using penny washers on the underside and nyloc nuts to ensure nothing comes loose over time.
Attaching Your New Cleats
Armed with your cleats, fixings, spanners and a spare pair of hands don’t forget some sealant for water-tight joints. First, we would suggest a dry run to iron out any details like holes needing enlarging or elongating (not too much though) to make sure all of the fixings align with the holes well enough. Clean up the deck or mounting area with white spirits or a suitable cleaning compound before the final fit, then apply a reasonably generous layer to sealant to the underside of the cleat before setting in.
If you found this guide useful or interesting you might like to sign up to our newsletter, so that we can let you know when our next guide has been published.
If so just click here .......